Hello, fellow home automation enthusiasts!
For the last couple of months I’ve been setting up my smart home. I decided to go with SmartThings because there is a good balance of easy to use and extensibility. If you’re using HomeAssistant, please don’t judge me :)
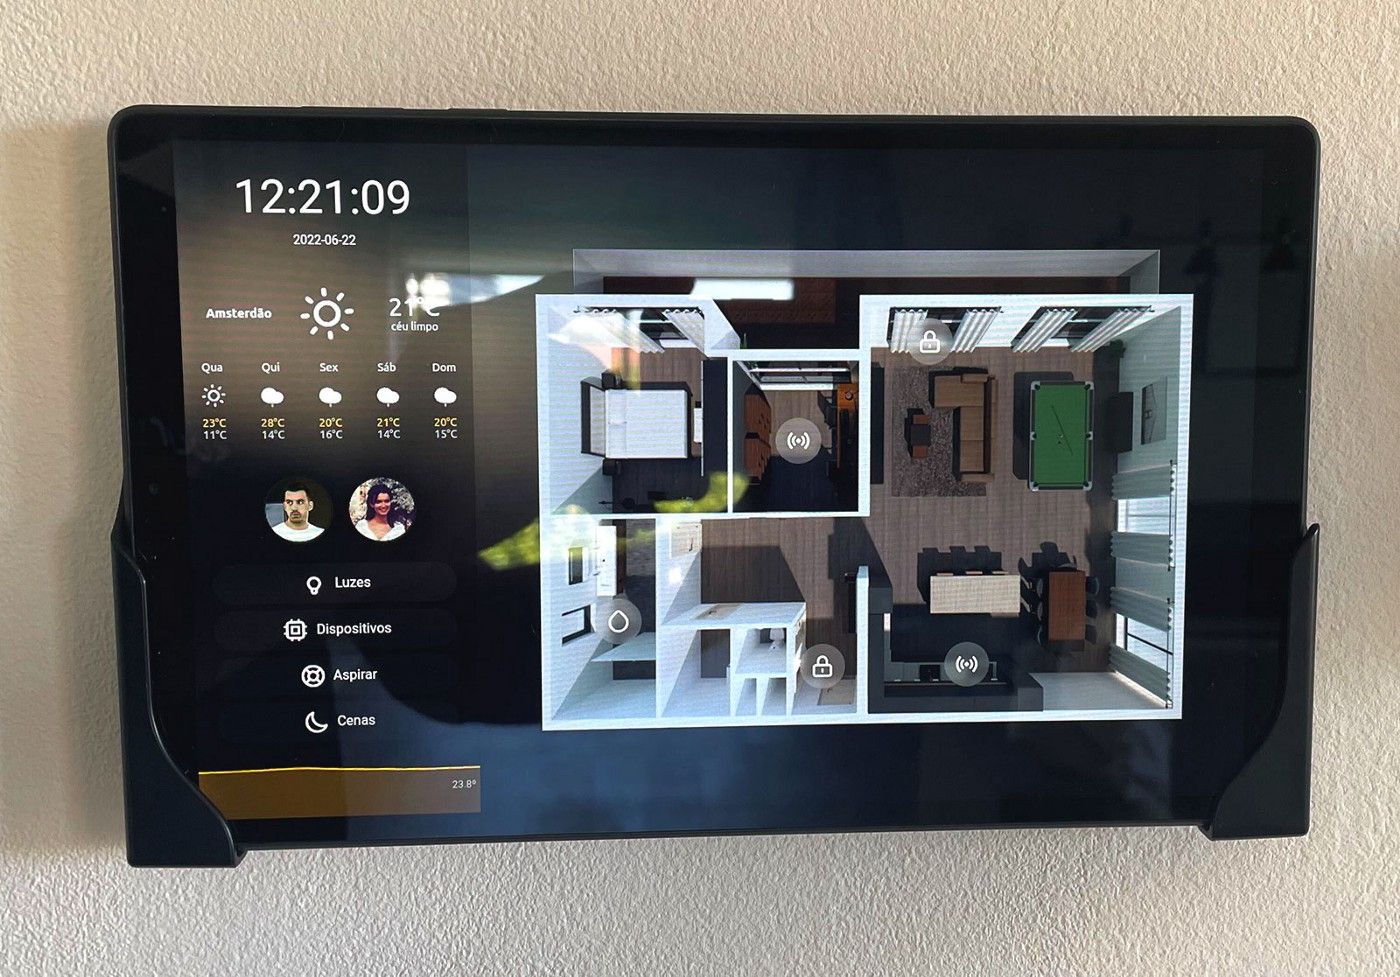
One of the things I wanted to have was a wall-mounted tablet to be a dedicated control panel to manage devices in a single place without having to use different apps in our mobile phones.
For some time I used a third party platform called SharpTools to build my control panel but I wanted a bit more than it could offer. Since I was already using the SmartThings API to build some custom widgets, I decided to go all in and build everything in OutSystems.
New to OutSystems? Try it for free!
Download the SmartThings Integration for OutSystems.
Starting from the end
I started by identifying what would be our main use cases for control panel and designing the interface and interactions for the best experience possible (at least with my skills).
The overall idea is very common for home automation enthusiasts out there, I’ve seen a few control panels like this and I decided to do my own take on it: a 3d render of the apartment and the controls on top of it.
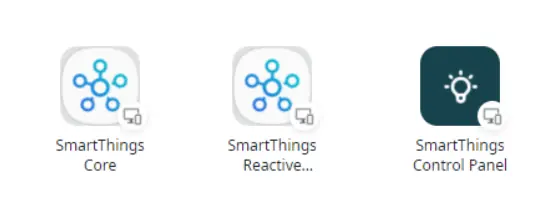
Application setup
I started by creating a service module to handle all API calls, server actions, and data. Then, one sample app to list devices and their details, and finally another app for my personal control panel.
Let’s see a bit more detail for each application.
This is the service module that handles all communication with the SmartThings API and also stores server actions to perform specific actions that are triggered by widgets or actions.
I’m not a backend developer, my knowledge of using REST is very limited and relies on copy paste from the internet. Using OutSystems to add these methods and have them represented in structures was really helpful and time saving for me.
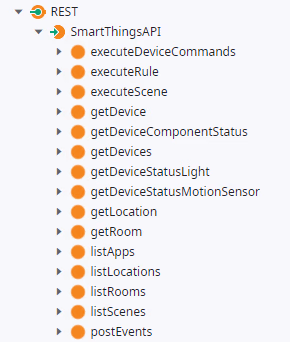
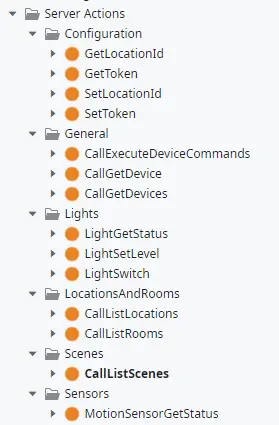
Methods
I only added the methods I felt I would actually need, mostly to list stuff, change stuff and get information about stuff.
I still have not figured how to listen to changes on devices without pinging them, but for my use case, refreshing the data when the tablet screen wakes up is more than enough. I’ll take a better look at that “postEvents” method afterwards.
On top of the methods I also created some actions to abstract some of the complexity for common scenarios such as switching a light on or off, setting the level, etc.
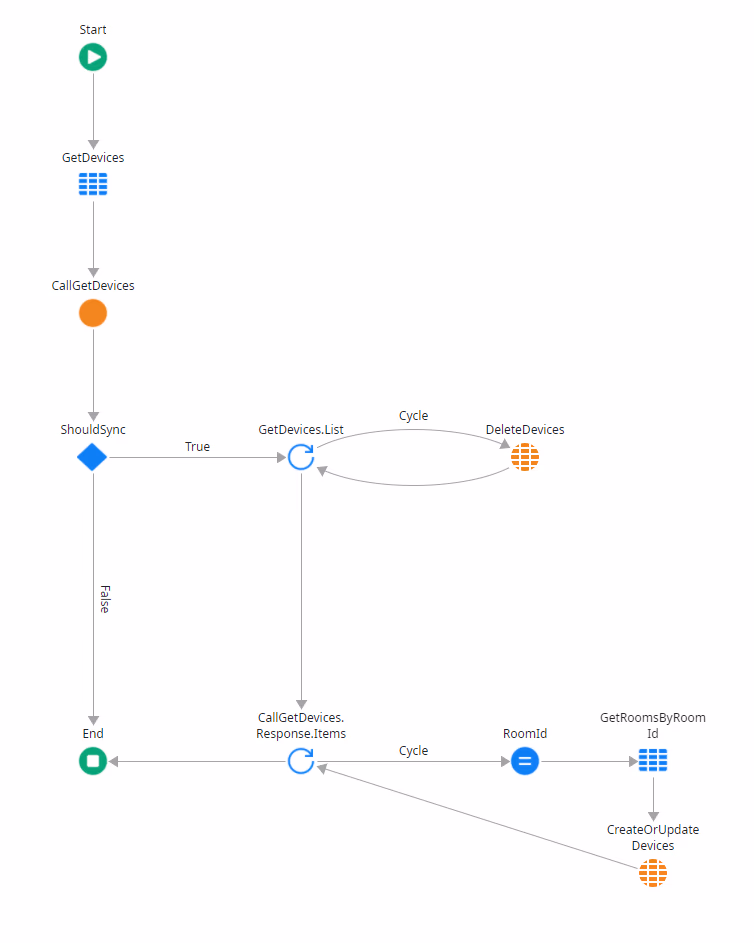
In order to make it easier to organize rooms and devices I created a timer that syncs that information to OutSystems, that way I can create aggregates and show the information much easier. Again, backend is really not my area, so I just delete all devices and store them again if the number of devices in the cloud is different than the ones in the OutSystems table.
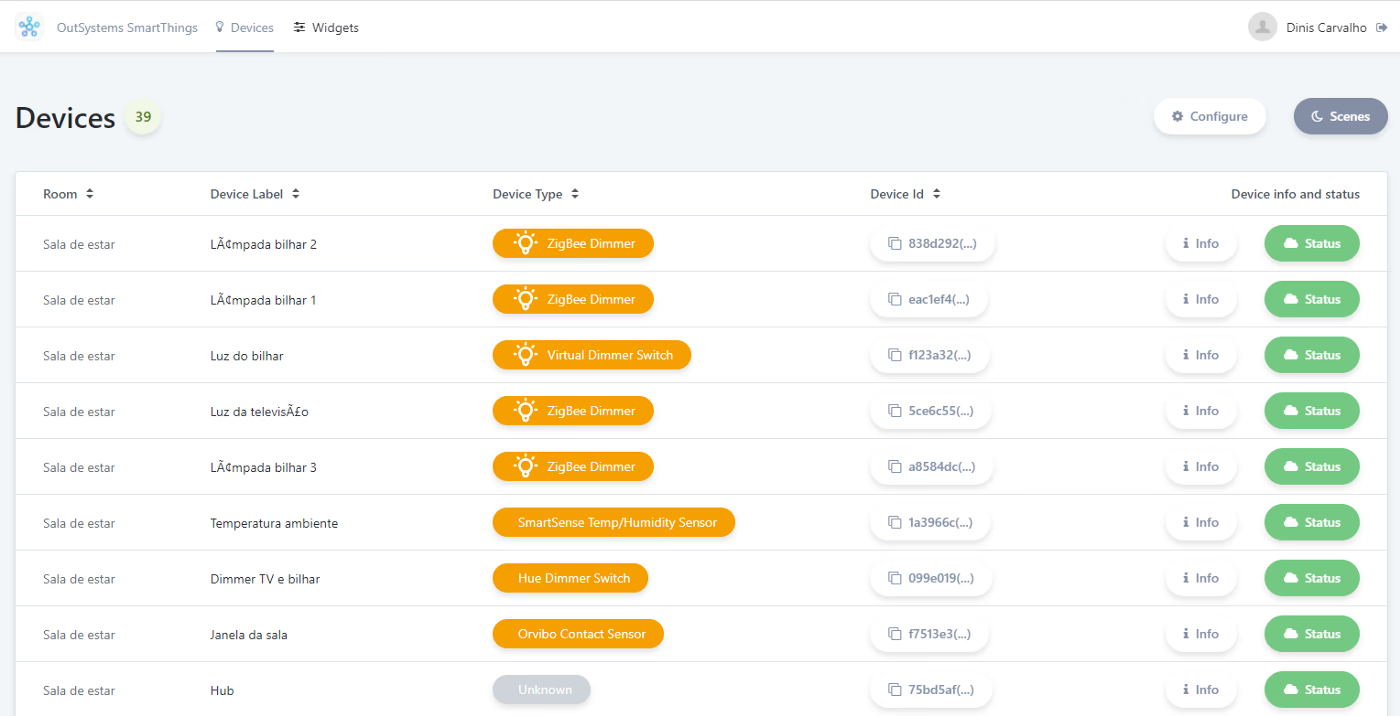
This is essentially the frontend where we can actually see what the integration provides. This first version has the ability to list scenes, rooms, devices, get device information and status, and to also execute commands such as switch lights on or off.
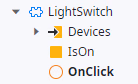
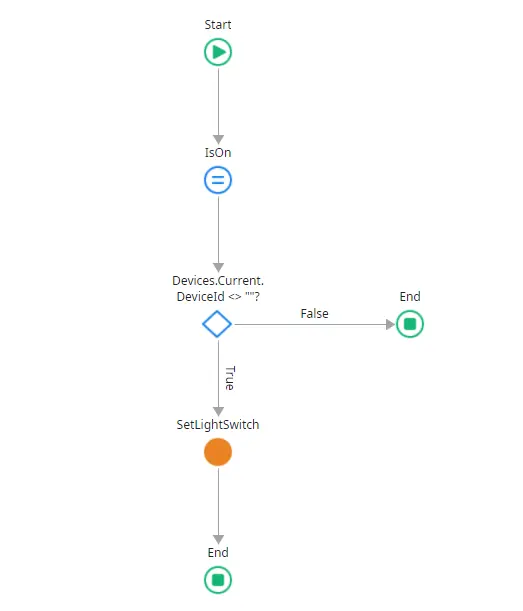
This a very basic light switch included on the sample app.
When the user clicks on the widget, the local variable with the state is switched and its value is passed to the action that calls the API with the command to execute on a given device or list of devices.
So, using the components seen above, it was time to get the actual control panel up and running!
Although we use the light switches on the wall 90% of the time, the control panel is used to change the brightness level of individual lights, check the weather before going out and control Roomba without the need for my wife to install yet another app (she doesn’t even have SmartThings installed).

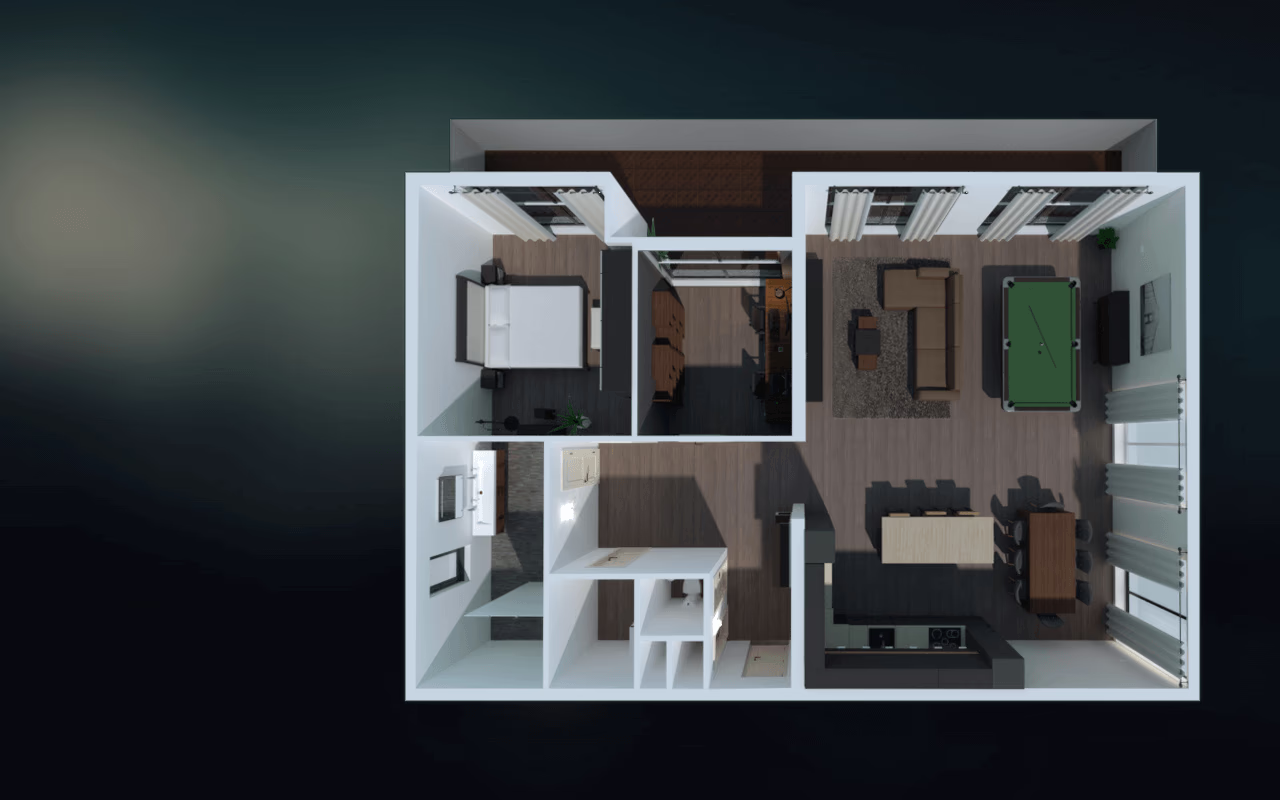
I’ve seen many examples of control panels based on 3d renders, they look cool and having the actual context of the blueprint when looking for devices is much more efficient.
I already had the 3d model because we used a software called Planner5D before we did renovations on the apartment, so that was kind of “free” for this project. After exporting the render I did the control panel background with it and imported to OutSystems.
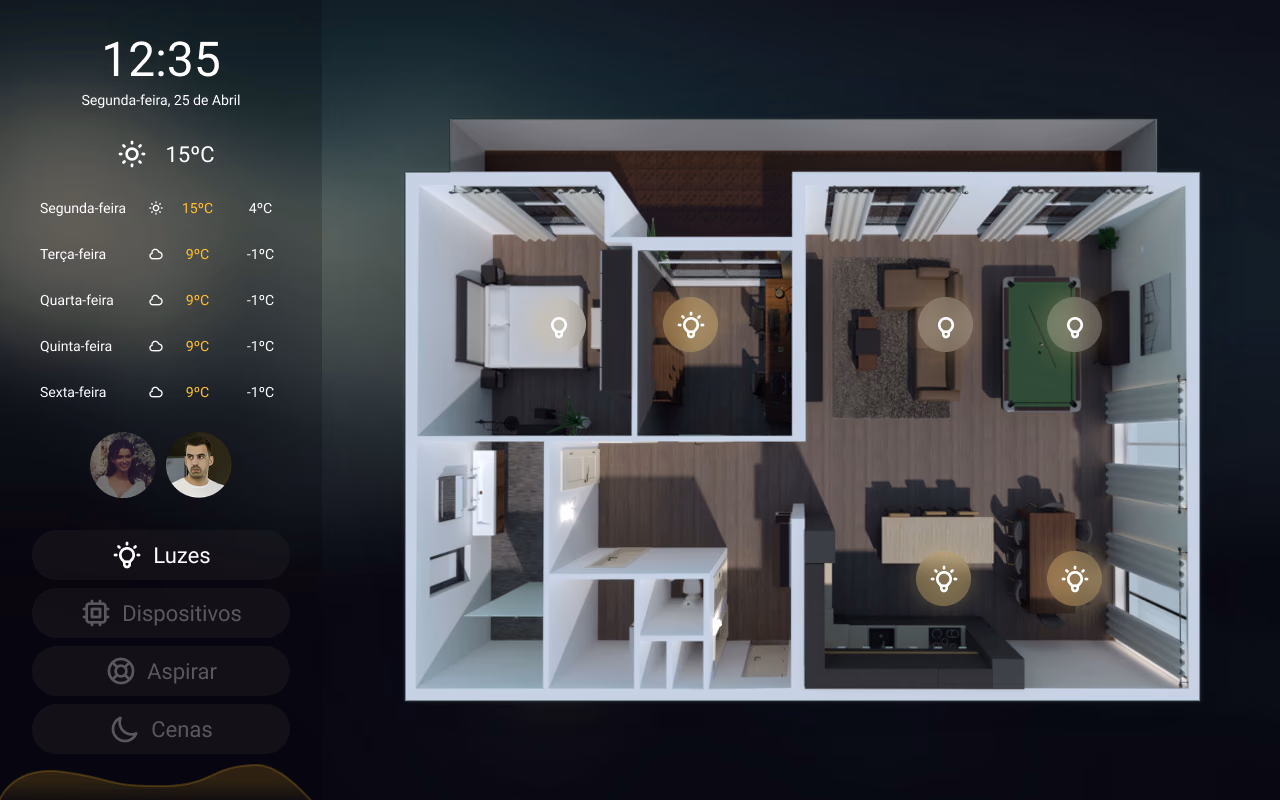
I’ve built several custom widgets for this control panel, a Clock, a Weather widget, a room temperature chart, and other widgets to handle devices such as lights and sensors.
One of the most important ones is the light switches and dimmers widgets. SmartThings sucks at managing smart light groups, they allow it via their app but they don’t actually expose a light group as a device or anything we can control via API, so I had to build custom switches with the capability of controlling multiple lights at the same time, ensuring they were always in sync regarding state and brightness level.
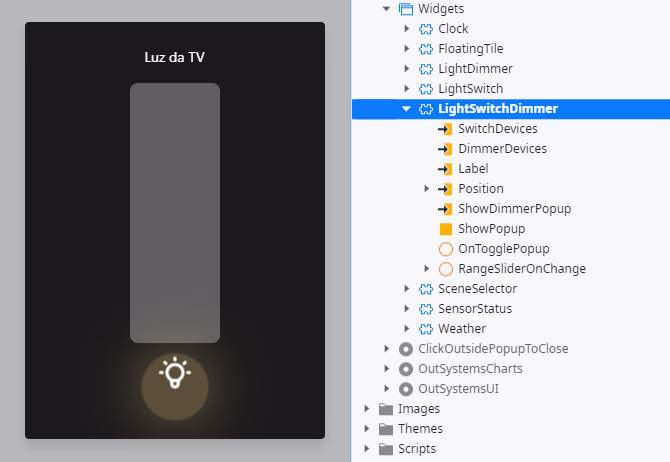
This one is not finished yet, but it works.
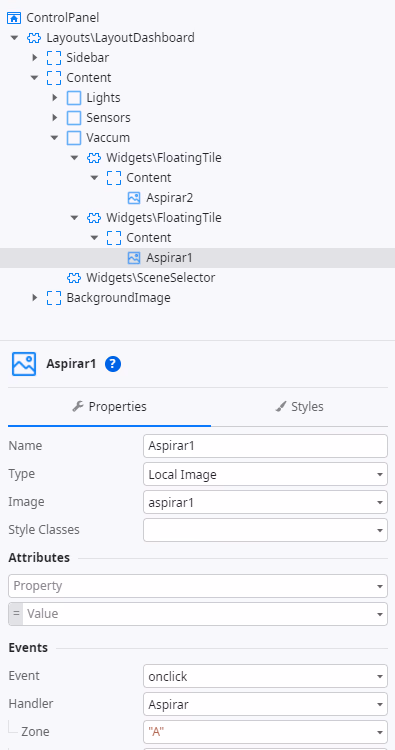
In order to integrate with Roomba I had to create virtual switches in the SmartThings IDE and automate them with IFTTT to control Roomba. Unfortunately IFTTT does not support Roomba favorite tasks with multiple areas, so this integration forces me to create individual switches for each room and/or one switch for the whole apartment. I think I could workaround this by using a voice assistant trigger to execute a favorite task for Roomba, I’ll do that later.


Background changes smoothly with day and night cycles
I said that I created a background with the render to use on the control panel, but actually I created two. One version for the day and another version for the night.The clock widget calls an action that defines the transparency level of the day image, this way the background cycles with the time of day, from 8am — 2pm 8pm. It’s subtle but I like how it looks.


Closing words
Although my control panel is pretty much finished, the actual integration, methods, actions and sample app have much to be improved and I’ll continue to do so, but I wanted to share as much as possible as early as possible with the community.
Thank you to some close friends that helped with ideas and to my wife that tolerates this nonsense.